
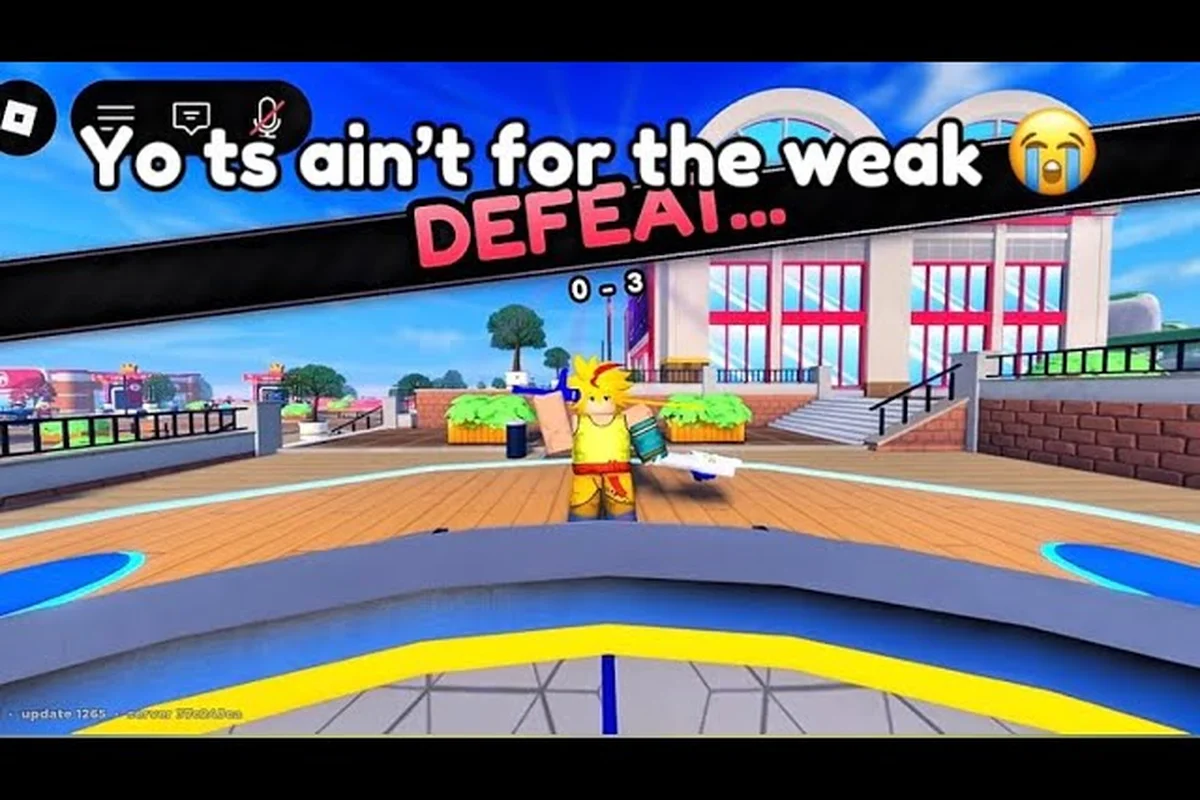
A solid Bey Rivals training guide starts with one honest truth: this game rewards repetition, not lucky spins. Whether you are grinding solo or chasing a boss clear, the bladers who improve fastest are the ones who drill launch timing and stamina control before they spend a single ticket.
What a Real Training Routine Looks Like in Bey Rivals
Most new bladers treat this game like a gacha first and a battle game second. That order is backwards. The customization loop is real — you gather parts through banner-style spins, tune a loadout, unlock abilities, then push into the ranked ladder — but none of that matters if you cannot keep your Bey spinning under pressure. A training routine fixes that gap.
The core of any Bey Rivals training guide is a repeatable block you can run in 20 to 30 minutes. You are not chasing a single win; you are building muscle memory for launch angle, ring-out awareness, and burst management. Community beginner videos consistently emphasize learning launch timing and stamina management before spending Lucky Spins on banners, and that advice holds up.
Here is a simple weekly training block that works for solo players: run it three times per week, alternating arena types so your launch timing adapts to different bowl depths and edge geometry rather than one fixed setup. Each session should log your burst rate — how often your Bey pops before the opponent's — since that single stat predicts ranked outcomes better than raw win count. If your burst rate climbs above roughly one in four clashes, drop the attack drill and spend that slot on stamina holds until your Bey's spin decay slows.
-
Launch drill (5 min): Run the same arena against an easy NPC and repeat the launch until your Bey lands center-arena without wobbling.
-
Stamina hold (5 min): Pick a Stamina-type part and try to survive a full clash without attacking. Learn how your spin decays.
-
Ring-out awareness (5 min): Practice steering away from the arena edge. A knocked-out Bey loses the clash instantly.
-
Burst pressure (5 min): Attack aggressively and watch how fast a burst-pop ends the round. Learn the risk.
-
Free battle (10 min): Apply everything in one real match against an NPC you have not beaten yet.
That block covers the four things that decide almost every clash: launch quality, stamina, positioning, and burst risk. The reason it works is sequencing, not volume — the launch drill builds the center-arena landing that keeps your Stamina-type part out of early ring-out range, the stamina hold teaches you how fast spin decay actually drains before the opponent's burst window opens, and the burst pressure slot forces you to feel how a single aggressive attack can flip a winning clash into a burst-pop loss. Run it three times a week, log your burst rate each session, and your ranked results will move.
Why Solo Drills Beat Random Matches
Random PvP matches teach you very little when you are still learning the basics, because you lose too fast to see what went wrong. Solo drills against NPCs give you a controlled environment where you can isolate one variable at a time. If you want a broader breakdown of the early loop, the Bey Rivals beginner progression walkthrough covers how the first battles feed into the rest of the game.
The key insight is that NPC battles are free reps. There is no rank penalty, no pressure, and you can quit and restart instantly, so a failed launch or a mistimed special costs you nothing but a few seconds. Treat them as your practice gym rather than a chore you have to clear. Run the same matchup repeatedly and change only one thing per attempt — swap your launch angle, delay your special by a beat, or test a different combo opener — so you can actually attribute the win or loss to a single decision instead of guessing. That feedback loop is what makes the solo grind compound, and it is the same habit that pays off later against the tougher boss encounters.
Setting a Baseline Before You Train
Before you start any structured routine, record where you actually are. Play five NPC battles and note how many you win, how often you burst-pop, and how often you get rung out. That baseline is your training target. Without it, you will not notice improvement.
BBR Productions has not published official numeric thresholds for rank, Bey level, or part quality, so your baseline has to be self-measured. Progress in this game is measured through rank, Bey level, part quality, and collection size — all of which you can track yourself.
Solo Play Fundamentals: Stamina, Launch, and Positioning
A good Bey Rivals solo guide focuses on the three levers you fully control: how you launch, how you manage spin, and where your Bey sits in the arena. Parts matter, but they amplify good habits rather than replace them.
Part types fall into four families — Attack, Defense, Stamina, and Balance — and each one changes how you should train because it shifts where your Bey wins or loses the match. Attack parts reward an aggressive launch and burst pressure but carry the highest ring-out risk, so your training should drill controlled launch angles that keep you in the arena. Defense parts win through edge control and absorbing hits, letting you survive long clashes at the cost of slow finishes. Stamina parts conserve spin to win attrition battles, yet they fold against burst damage, so you must practice patience and positioning. Balance parts mix timing and adaptability, staying flexible across most matchups without a standout edge.
| Part Type | Training Focus | Solo Strength | Risk |
|---|---|---|---|
| Attack | Aggressive launch, burst pressure | Fast NPC clears | High ring-out risk |
| Defense | Edge control, absorbing hits | Survives long clashes | Slow to finish |
| Stamina | Spin conservation, patience | Wins attrition battles | Weak to burst |
| Balance | Mixed timing, adaptability | Flexible in most matchups | No standout edge |
Surnames and traits stack a second modifier layer on top of the base part, so two Beys built from the same Attack blade can diverge sharply — a surname that boosts burst pressure turns a glass-cannon build into a genuine NPC-clear threat, while a defensive trait on the same chassis pushes it toward edge-holding instead. That is why your training log should record the exact surname-plus-trait combination you fielded, not just the part family, since the same launch angle that wins with one trait can ring you out with another. Before grinding for a theoretical god-roll, run ten solo matches with your current Attack, Defense, Stamina, or Balance setup and note where each loss actually came from — burst, ring-out, or spin-out — because that data tells you which trait to chase next.
Reading the Arena Like a Fighter
Positioning is the most underrated skill in solo play. A Bey that drifts toward the arena edge is one hit away from a ring-out loss, while a Bey that holds center forces the opponent to travel. During your stamina hold drill, watch where your Bey naturally drifts and correct it early.
Because combat is burst-style — a Bey that burst-pops or is knocked out loses the clash — you should treat the edge as a hard boundary, not a soft one. There is no partial credit for surviving near the rim.
Launch Timing Is a Skill, Not Luck
Launch timing determines your Bey's initial trajectory and how much spin it retains at contact. Community guides name this as the first thing to master, and it is the single easiest skill to drill because it costs nothing. Run the same launch 20 times in a row and you will feel the difference between a clean center drop and a wobbly off-axis entry.
Once your launch is consistent, everything downstream — stamina, positioning, burst control — becomes easier to learn because you are no longer fighting your own input. A clean center drop preserves spin for the opening clash, so you enter the first engagement with more RPM to spend on a Burst Finish or a defensive spin-steal instead of burning it on recovery. In practice, players who drill the same launch 20 times report that their stamina loss on a wobble drop is roughly double that of a flat entry, which is why the launch is treated as the foundation of every later skill in this progression guide.
Building a Boss-Ready Loadout
A Bey Rivals boss guide has to start with honesty: Boss Raids are community-mentioned as planned-but-unconfirmed additions as of 2026-10-26. That means there is no verified boss roster, no published boss stats, and no confirmed reward table yet. What you can do now is build a loadout that will survive whatever a boss throws at it.
Boss-style encounters in most arena games punish two things: low stamina and poor positioning, and the same failure pattern shows up in Bey Rivals solo guide discussions — a Bey that gasses out mid-fight or drifts toward the stadium edge loses before its attack stat ever matters. So the training you do now should target exactly those weaknesses: run stamina holds to stretch your Bey's spin time through long attrition phases, and drill edge control so knockback from a heavier opponent doesn't send you into the ring-out zone. Treat these as your baseline before chasing burst damage.
| Loadout Goal | Part Type Priority | Drill to Run | Why It Helps |
|---|---|---|---|
| Survive long fights | Stamina first | Stamina hold | Outlasts attrition phases |
| Avoid ring-outs | Defense first | Edge control | Resists knockback |
| Punish openings | Attack first | Burst pressure | Capitalizes on weak windows |
| Stay flexible | Balance first | Mixed free battles | Adapts to unknown mechanics |
The safest boss-prep strategy is a Balance or Stamina core with one aggressive option you can swap in once you learn the fight. Community sources recommend keeping early parts that fit a Balance or Stamina build, which lines up with this approach.
Preparing for Unconfirmed Boss Content
Since BBR Productions has not published boss mechanics, your preparation has to be principle-based. Focus on the fundamentals that transfer to any encounter: sustained spin, controlled positioning, and the ability to recognize when to attack versus when to hold. If you want to track what is actually confirmed versus rumored, the Bey Rivals event and raid news roundup separates announced content from community speculation.
Do not build a loadout around a boss that may not exist yet. Build one that handles the game as it currently plays, then adapt when real boss data arrives. Concretely: a balanced build stacking stamina for sustained spin and a defensive driver layer for survivability will clear the current solo and raid content, whereas a loadout over-invested in one speculative counter — say, dumping every upgrade into burst attack for a rumored high-HP boss — leaves you fragile against the mobs and mid-tier encounters you actually fight today. Treat your first boss-ready build as a baseline you can re-tune, not a finished answer.
Testing Your Loadout Before You Need It
Run your boss-prep loadout through five hard NPC battles and note where it struggles. If you burst-pop early, you need more stamina. If you get rung out, you need better positioning or a Defense part. This self-testing loop is how you validate a build without official numbers.
The Progression Path: From First Spin to Ranked
A Bey Rivals progression guide should map the actual order of operations, because doing things out of sequence wastes resources. The community-recommended path is straightforward: join the BBR Productions group, run the tutorial, redeem starter codes, roll parts on the current banner, then enter arena battles against NPCs before PvP.
That sequence exists for a reason. Joining the BBR Productions group is a hard gate before redeeming most in-game codes, and the tutorial is what unlocks the Shop plus your first batch of Spin Tickets — the two free entry points into the part-rolling economy. Skip the group and every starter code (Bey Points, Lucky Spins, Soul Tickets) stays locked; skip the tutorial and you lose the Shop's daily refresh and the Spin Tickets that fund your first banner pull. Since a single banner spin costs Bey Points you won't have yet, doing both steps in order is the only way to reach Stage 4 with a usable part set instead of an empty inventory.
| Stage | Action | Resource Spent | Goal |
|---|---|---|---|
| 1 | Join BBR Productions group | None | Unlock code redemption |
| 2 | Complete tutorial | None | Unlock Shop + Spin Tickets |
| 3 | Redeem starter codes | None | Free Bey Points, tickets |
| 4 | First banner spin | Bey Points | Get a usable part set |
| 5 | NPC battles | None | Build launch/stamina skill |
| 6 | Ranked ladder | Time | Test your build vs real players |
Bey Points are the main currency, and Spin Tickets, Lucky Spins, and Soul Tickets feed the part-rolling economy. Because frequent balance patches and event codes shift the meta quickly, you should re-evaluate your loadout after major updates rather than locking into one build forever.
Where to Spend Your First Bey Points
The community recommends spending starter Bey Points on a first banner spin and keeping early parts that fit a Balance or Stamina build. That is sound advice because a flexible early loadout lets you experiment without committing to a narrow strategy you might regret.
If you need a faster currency loop to fund more spins, the arena farming routine for Bey Points pairs easy arena enemies with a simple spin-and-hit loop, which is exactly the kind of repeatable pattern that fits a training mindset.
Watch the Meta Without Chasing It
The game launched in the October 2026 window, and the meta is still settling. Chasing every hot build is a trap for new players because the parts you invest in may get rebalanced. Instead, train the transferable skills — launch, stamina, positioning — and treat parts as tools that support those skills.
Common Training Mistakes That Stall Progress
Even bladers who grind daily can stall out for weeks if they keep repeating the same structural errors — the kind that quietly drain Spin Tickets, Coins, and matchup knowledge without ever showing up as a loss on the results screen. The five mistakes below account for most mid-game plateaus in Bey Rivals: each one either wastes a limited resource or robs you of the reps you need to read launch angles, spin direction, and part synergies. Work through them in order, and your progression curve flattens out instead of spiking and crashing.
-
Spending Lucky Spins too early: Rolling before you understand your playstyle leads to mismatched parts. Fix: run drills first, then spin with a goal.
-
Ignoring the tutorial: The tutorial unlocks the Shop and Spin Tickets. Fix: complete it before anything else.
-
Training only in PvP: You lose too fast to learn. Fix: use NPC battles as your practice gym.
-
Never changing loadouts: The meta shifts with patches. Fix: re-test your build after updates.
-
Skipping the group join: Codes will not redeem without it. Fix: join BBR Productions first.
Each of these five mistakes costs you either a limited resource or the reps you need to read launch angles, spin direction, and part synergies. Spending Lucky Spins before you understand your playstyle, for example, can burn a full week's worth of Spin Tickets on mismatched parts, forcing you to re-grind Coins just to re-roll. Skipping the tutorial locks the Shop and Spin Tickets, which stalls your entire progression guide timeline before it starts. Training only in PvP against faster opponents ends matches too quickly to learn anything, while NPC battles give you the slow, repeatable reps that build matchup knowledge. Never changing loadouts leaves you blind to patch-driven meta shifts, and skipping the BBR Productions group join means your codes simply will not redeem. Avoiding all five keeps your progression curve smooth instead of spiking and crashing.
The Overinvestment Trap
The biggest long-term mistake is dumping everything into one part set before you know how you like to play. Since there is no official in-game written manual and players rely on the tutorial, tooltips, and community guides, you are learning mechanics and building a collection at the same time. Keep some Bey Points in reserve so you can pivot when you discover your preferred style.
Why Consistency Beats Intensity
Short daily sessions beat occasional marathon grinds because this game is about repetition. A 20-minute drill block five days a week will outperform a three-hour session once a week, because the skills you are building — launch timing, stamina reading, positioning — are motor habits that need frequent reinforcement. Treat training like practice, not like a grind.
Frequently Asked Questions
How long should a Bey Rivals training session be?
A focused 20 to 30 minute block is enough for most players. Split it into a launch drill, a stamina hold, a positioning drill, and one free battle. Running that block three to five times a week builds the motor habits that decide clashes, and it costs no Bey Points or tickets.
Do I need a boss-ready build right now?
No. Boss Raids are community-mentioned as planned-but-unconfirmed additions as of 2026-10-26, so there is no verified boss roster or reward table yet. Build a flexible Balance or Stamina loadout that handles current content, then adapt once BBR Productions publishes real boss mechanics.
What should I spend my first Bey Points on?
Community sources recommend a first banner spin, then keeping early parts that fit a Balance or Stamina build. That gives you a flexible starting loadout without locking you into a narrow strategy. Hold some Bey Points in reserve so you can pivot once you discover your preferred playstyle.
Is solo play or PvP better for practice?
Solo NPC battles are better for early practice because there is no rank penalty and you can restart instantly. Use them to isolate one skill at a time, then move to ranked once your launch and stamina control are consistent. PvP is where you test, not where you first learn.
How do I know if my training is working?
Track your own baseline: win rate in NPC battles, how often you burst-pop, and how often you get rung out. BBR Productions has not published official numeric thresholds, so self-measurement is the only reliable signal. If your burst-pops and ring-outs drop over two weeks, your training is working.