
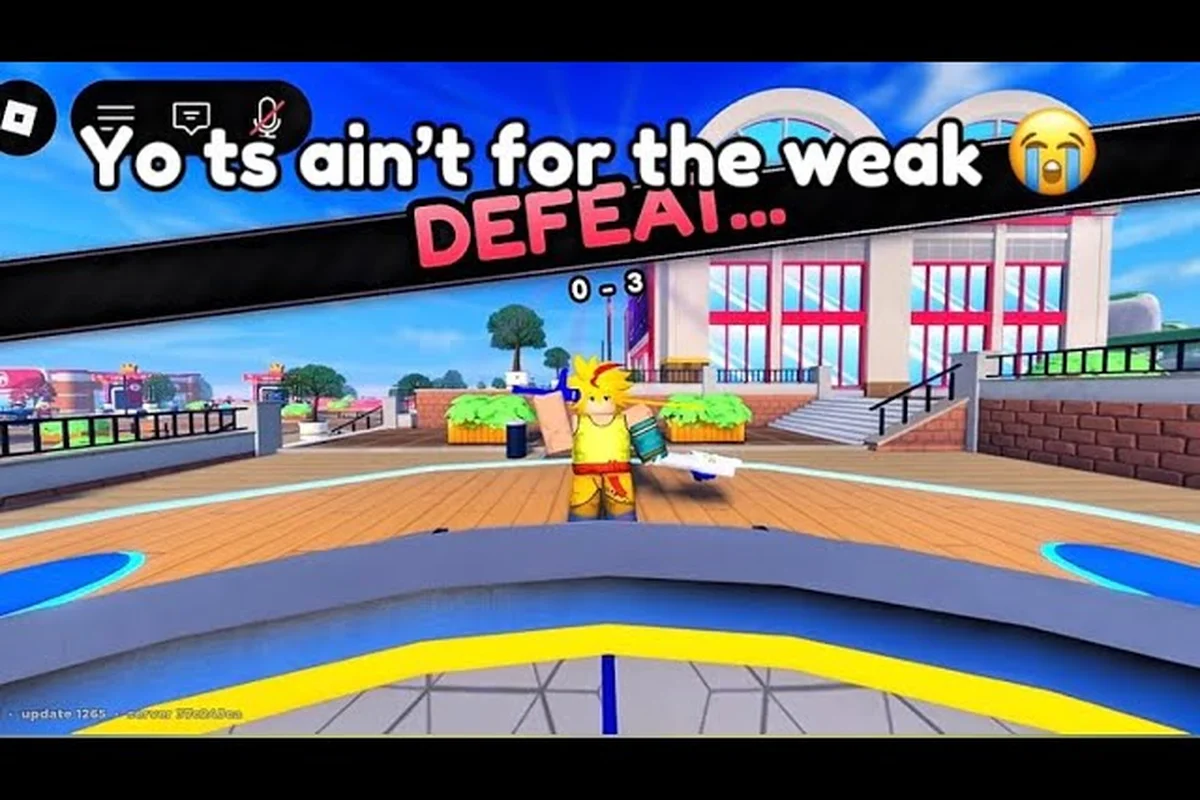
Bey Rivals battles explained through four decisions: when to attack, where to place your Bey, how much stamina to preserve, and which burst timing to punish. For example, a player who spends the opening seconds launching a high-damage attack may gain pressure but leave their Bey with less stamina for the opponent’s counter; a safer opening can preserve the ability to respond to a sudden right or left attack. Understanding the stamina cost of each launch and the range of your Bey’s attacks helps you control the arena instead of merely trading hits, turning repeated losses in the Bey Rivals PvP guide into measurable improvements.
Bey Rivals Battle Rules and Winning Conditions
Bey Rivals is built around fast, burst-style spinning-top clashes. Each player launches a customized Bey into an arena, and the battle ends when one Bey bursts, gets knocked out of the ring, or stops spinning while the other remains active. Understanding those conditions is the foundation of every useful Bey Rivals battle plan.
The official Bey Rivals game page on Roblox identifies the experience as a Bey-battling game developed by BBR Productions. Players can face other people or NPC opponents, and the same core physics support both activities. That makes arena practice valuable even when you are still learning the basics.
| Battle outcome | What causes it | Strategic meaning |
|---|---|---|
| Burst victory | The opponent's Bey breaks apart | Speed and burst pressure create the finish |
| Ring-out victory | The opponent's Bey leaves the arena | Angle, force, and placement become important |
| Time-out victory | The opponent stops spinning first | Stamina and conservative launches help |
| Draw | Neither Bey receives a clear winning condition | Matchup quality and launch control remain decisive |
The Last Active Bey Wins
A useful last-spinning-Bey rule is the easiest way to summarize the objective: keep your Bey active while your opponent becomes inactive, bursts, or is eliminated. You do not need to destroy every part of the opponent immediately. Sometimes a controlled launch and steady spin are enough to win before the opponent creates a dangerous opening.
The distinction matters because a low-health state does not automatically mean defeat. A Bey that is still moving and remains inside the arena can recover, while a strong opponent that bursts early may leave your slower build without a target. Every decision should therefore consider both your current condition and your rival’s likely next move.
The Four Bey Type Roles
The game uses four confirmed part types. Attack-part builds seek fast pressure, Defense-part builds absorb damage, Stamina-part builds extend the rotation, and Balance-part builds distribute power across both offense and endurance. These categories are broad strategic identities rather than promises that every component performs identically.
| Part type | Primary battle plan | Best use against | Main weakness |
|---|---|---|---|
| Attack | Burst quickly and maintain pressure | Fragile, slower opponents | Can lose if the opening burst misses |
| Defense | Survive contact and counter later | High-pressure attackers | May lack enough closing speed |
| Stamina | Outlast the rival | Burst-focused builds | Can be pressured before endurance matters |
| Balance | Adapt across the full exchange | Uncertain or mixed matchups | Requires balanced component choices |
This framework is why swapping a single component can change your approach. A heavy attack part may improve your chance of a quick burst, while a balanced arrangement can reduce one glaring weakness. Players who want more detail on that decision can use the attack type strategy for winning streaks to compare attacking, defending, and endurance-oriented plans.
Bey Rivals Launching and Early Positioning
Knowing when to release is often more valuable than knowing which part is slightly stronger. Launch strength determines the opening stamina race, while the angle decides whether the Bey attacks directly, circles the arena, or drifts toward a side where an opponent can exploit the poor position.
Release Strength Is a Strategic Choice
A hard launch creates immediate speed, but that speed can decline before it produces a useful hit. A softer launch may preserve more effective rotation and allow a player to read the opponent before committing. The right release depends on the Bey’s build, the distance between the launch points, and the rival’s apparent plan.
| Opening choice | Immediate benefit | Possible cost | Best situation |
|---|---|---|---|
| Hard launch | More immediate speed and pressure | Can fade before contact | Fast attack builds or poor starting position |
| Balanced launch | Useful speed with more control | May not force an early burst | General PvP and unknown matchups |
| Soft launch | Preserves rotation for a later exchange | Gives the opponent time to settle | Stamina builds against aggressive rivals |
| Angled launch | Changes contact angle and ring position | Requires careful adjustment | Opponents holding a predictable lane |
The best test is not a universal setting. It is a repeatable comparison. Run the same arena twice with two release choices, note which Bey remained active longer, and identify whether the difference came from contact, position, or a missed burst window.
Control the Starting Angle
The launch angle shapes the first phase of the fight. A shallow angle may help you build speed before meeting the rival, while a sharper angle can place pressure on one side of the arena. If your opponent begins near a wall, a wider route may force a slower engagement and reduce their chance of an immediate burst.
Community experience consistently places a premium on watching the rival’s Bey type before choosing a release. Reading that visible information matters because it suggests whether the opponent intends to rush, counter, or extend the battle. The advice is especially relevant to the Bey Rivals how to battle decision: the same launch can be correct against one archetype and weak against another.
Treat the First Contact as a Test
The opening collision should answer several questions at once. Does the rival hit harder? Does your Bey lose rotation after contact? Do you get pushed toward the boundary? Which side of the arena is becoming dangerous? These signals are more valuable than chasing a random early burst because they reveal whether your build can sustain the exchange.
A patient player can deliberately avoid a first clash, but that choice has a cost. The opponent may gain a stronger position or force a ring-out before you improve your angle. Patience is therefore not passive movement; it is a decision to preserve a useful state until the rival commits to an unfavorable contact.
Bey Rivals PvP Reading and Counter Decisions
Reading a rival is the process of turning visible information into a launch plan. Bey Rivals PvP guide material is most effective when it explains what to observe and when to act, rather than presenting a fixed combo that becomes invalid after every balance patch.
Read the Opponent Before the Launch
Spend the short pre-battle window looking at the rival’s Bey type, apparent balance, and position. The question is not simply whether the opponent looks strong. It is where that strength can be used, and where your own strength can be placed against it.
| Rival signal | Likely strategic idea | Your response |
|---|---|---|
| Attack-oriented setup | Seek a fast early burst | Defend the center or force a wider engagement |
| Defense-oriented setup | Expect to survive initial pressure | Use controlled placement and avoid wasting stamina |
| Stamina-oriented setup | Plan to outlast the clash | Raise pressure before rotation becomes an advantage |
| Balanced setup | May punish an early extreme | Adjust after observing the opening exchange |
| Defensive starting position | Prepare for a ring-out attempt | Launch with an angle that avoids the guarded lane |
These are tendencies, not guarantees. Surnames, traits, and individual components can modify the base part behavior, while player skill can make a familiar build perform differently. Confirm the rival’s intent through contact instead of assuming that a category always decides the match.
Counter Pressure Without Chasing a Burst
The safest counter against an early attacker is often a launch that avoids giving the attacker a direct burst route. A defensive driver can absorb the first exchange, while a counter-launch can interrupt the rival’s preferred line when the angle and timing are right. The objective is to turn a favorable exchange into a less dangerous one, not to demand an immediate finish.
Counter-Launch Timing becomes more useful when the rival commits to a predictable approach. Watch the Bey accelerate, change direction, or settle into a repetitive path. Release when your movement creates contact on its vulnerable side rather than chasing the faster inner lane.
If the opponent is patient, forcing a counter may expose your own position. In that case, choose a safer line and rebuild the angle. Good PvP decisions are not about winning the next instant; they are about preserving the option to win after the rival reveals its plan.
Know When to Reset the Exchange
A reset means changing your launch position, speed, or angle so the battle is no longer following the rival’s preferred pattern. It can be useful after two lost collisions, when your Bey has been pushed toward the boundary, or when the rival has stabilized in the center.
| Situation | Best adjustment | Reason |
|---|---|---|
| Repeated direct collisions | Change the approach angle | Breaks the opponent's timing |
| Losing rotation after contact | Use a softer, safer launch | Prevents damage from compounding |
| Pushed toward the edge | Prioritize a central line | Reduces ring-out exposure |
| Rival controls the center | Force a wider route | Creates room to reset |
| Opponent stops attacking | Increase measured pressure | Avoids wasting a winning position |
These adjustments follow the fix common PvP mistakes framework: preserve position, avoid predictable contact, and make each launch solve a specific problem instead of repeating the first attempt. For example, after a rival stabilizes in the center, a wider launch can create space without surrendering the inner battle line; after two lost collisions, switching to a softer, safer launch can prevent damage from compounding. The goal is not simply to launch again, but to change the clash conditions so the next collision favors your Bey’s attack type, rotation, and remaining stamina.
Bey Rivals How to Win Battles in Practical Rounds
Winning more battles comes from repeatable routines. The strongest players do not merely react when a Bey begins to wobble; they build a position that makes several favorable outcomes possible. This is the heart of Bey Rivals how to win battles advice that works beyond a single matchup.
Use a Three-Phase Battle Plan
Divide the fight into a setup, an exchange, and a finish. The setup phase covers the launch and first positioning. The exchange phase contains contact and adaptation. The finish phase occurs when one Bey has a clear advantage in speed, placement, or remaining rotation.
| Phase | Your goal | Decision rule |
|---|---|---|
| Setup | Enter a favorable lane | Avoid a direct early clash if it benefits the rival |
| Exchange | Identify the stronger contact | Change angle or speed after one failed test |
| Finish | Convert advantage into a win condition | Burst, push out, or preserve the last active spin |
This plan prevents a common mistake: attacking a lost position for too long. If two attacks fail, the next launch should test a different condition. A player who keeps forcing the same contact may not improve even when the rival has already shown the weakness of that approach.
Build Around a Clear Battle Identity
Every successful loadout needs a reason to exist in the arena. An attack build needs a reliable means of pressure, a defense build needs enough stability to answer contact, and a stamina build must avoid wasting rotation in poor exchanges. Balance works best when its components support a defined game rather than simply avoiding every weakness.
A useful build review includes four checks: confirm the Bey can create a repeatable advantage with its chosen parts, not merely trade blows until the opponent slips; verify that attack, defense, or stamina choices reinforce the intended launch plan; test whether the first burst leaves enough rotational margin for a secondary counter; and check that every component contributes to one clear battle identity rather than splitting the build’s strengths across incompatible strategies.
-
Can this Bey produce a win condition without relying entirely on the opponent’s mistake?
-
Does its favored part type match the launch plan you intend to use?
-
If the first burst attempt fails, does the build have a secondary way to survive and counter?
-
Are the selected components improving the same battle identity instead of canceling one another?
Players who are still choosing a first Bey can compare the best starter Bey picks for new players before testing a complete battle plan. A good starter option improves learning because its strengths are easier to recognize, not because it guarantees victories against every rival.
Practice Against NPCs Before Chasing Rank
NPC battles and PvP use the same basic physics, so they provide a low-pressure place to test launch angles, burst timing, and recovery behavior. Set a clear goal for each session: test one variable, record the result, and retain only the change that improves consistent outcomes.
Useful practice targets include avoiding the center against a strong attacker, preserving the last active spin against a stamina setup, or converting a ring-out opportunity without recklessly leaving your own boundary. Once a technique works repeatedly against NPCs, test it in PvP where the rival can deliberately counter it.
Read Patches as Strategy Changes
Balance patches can change the effective strength of launch patterns, ring-out behavior, and burst interactions. The verified game history includes adjustments around ring-out and burst behavior near launch, showing why a strategy based on an old patch may not remain accurate.
| Change to watch | Strategic response |
|---|---|
| Burst timing altered | Re-test the opening attack window |
| Ring-out rules adjusted | Revisit angle and boundary control |
| Part values rebalanced | Recheck which build identity still performs |
| New components added | Compare their role before replacing a stable setup |
| Launch behavior modified | Repeat controlled launch tests |
Do not overhaul an entire build after every update. Change one component or one habit, test it, and compare the evidence. This protects your rank while helping you identify whether a recent loss came from a patch, an unfamiliar rival, or a poor launch.
Bey Rivals Arena Guide for Better Positioning
An arena battle rewards players who understand space. Speed can win a collision, but poor placement turns every collision into danger. The Bey Rivals arena guide becomes more useful when it includes rules for where you position your Bey and when movement becomes a liability.
Center Control Versus Wide Survival
The center often offers useful attack and defense angles, but it also places you on the rival’s shortest route. A wide position can survive longer while forcing the opponent to travel. Neither location is automatically superior; the best choice depends on the build and the rival’s movement.
| Position | Advantage | Risk | Ideal use |
|---|---|---|---|
| Center | Direct attack and counter lines | Exposed to the shortest burst route | Fast, controlled attackers |
| Wide lane | Time to read and adjust | Fewer attack angles | Patient stamina builds |
| Behind the rival | Late pressure opportunity | May be forced toward the boundary | Strong stamina and counter builds |
| Near the edge | Can bait a ring-out attempt | Very little recovery room | Confident, precise players |
Position should support the planned win condition by controlling attack timing, stamina, and ring-out risk rather than simply avoiding the rival. For a quick burst, move toward an efficient contact line that lets you attack from a favorable angle before the rival can reset. For a longer battle, favor stable space, maintain distance, and avoid unnecessary collisions. In practice, a stamina build should use the wide lane to force extra movement, while a fast attacker may pressure the rival near center where a clean hit can end the exchange quickly.
Use the Boundary as a Defensive Tool
You can encourage an opponent to attack near the edge if your own position remains safe. A rival that commits to a strong hit near the boundary may be vulnerable to a ring-out, especially if the hit pushes it outward. The key is to avoid being the Bey trapped in the same area.
Watch how your rotation changes near the wall. If it becomes unstable, move inward even if that means surrendering a direct burst opportunity. A safe central launch is usually better than an aggressive edge attempt that ends the battle instantly.
Detect the Signs of a Losing Spin
A wobble is not always a decisive weakness, but it changes the odds by reducing the Bey’s effective spin time and opening space for an opponent to switch from a normal clash to a more aggressive finish. For example, if a wobbling Bey drifts during contact, an opponent can attack along that exposed line instead of challenging the stable center. Read the tilt angle, rotation speed, and the rival’s position together; a small lean may be recoverable, but repeated loss of balance can indicate that a finishing attack is safer.
-
The rotation path becomes shorter or less stable.
-
A direct collision causes noticeably more slowdown.
-
The Bey stops correcting a drift toward the boundary.
-
The opponent immediately seeks another attack line.
Do not wait for a complete stop if you can safely close the gap. A controlled finish can end the match before the rival recovers, but only when attacking does not expose your own position. If your Bey is also unstable, preserve the active spin instead.
Learn One Matchup at a Time
The fastest way to improve is to define a matchup clearly. Choose one rival type, test a launch plan, and record whether your initial strategy produced contact on your terms. For example, against a balanced opponent, test whether an angled launch creates a safer first exchange than a direct high-speed release.
This method also makes consultation easier. A focused question about a defense matchup produces more useful answers than asking for a universal build. Once the matchup is understood, alter the plan one variable at a time. That is how Bey Rivals PvP tips become habits rather than a collection of disconnected advice.
Frequently Asked Questions
How do you win a battle in Bey Rivals?
You win by making your Bey the last one still active, or by causing the opponent to burst or leave the arena. Start with a controlled launch, preserve a safe position, and read whether the rival is prioritizing a quick burst or a longer endurance battle. Change your angle instead of repeating a failed collision.
What is the best launch strategy for beginners?
Beginners benefit from balanced launches that offer enough speed for contact without wasting all rotation. Watch the opponent’s position and type, then adjust the angle to avoid a direct early attack route. A launch should have a purpose, such as testing stamina or forcing the rival toward a less favorable lane.
Should an attack Bey always attack first?
No. An attack-oriented Bey benefits from pressure, but charging into a prepared opponent can waste its strongest advantage. Use the first launch as a test, look for a counterattack or missed movement, and increase pressure when the rival commits. Defense and stamina builds can win because they prevent that first attack from becoming decisive.
How do I counter a strong Defense Bey in PvP?
Avoid repeatedly striking the strongest point of a durable setup. Use angle and placement to seek a burst opening, or choose a patient launch that makes the opponent chase and tire. If its defense is causing your Bey to lose rotation faster, switch to a stamina-based plan rather than forcing the same collision.
Can Bey Rivals battle techniques help against NPCs?
Yes. NPC and PvP battles use the same core spinning, launch, burst, and ring-out mechanics, so NPC practice is suitable for testing launch angles and matchup plans. Apply the knowledge in ranked PvP, where the rival can adapt and where small positioning errors may determine the result.